Translating your Squarespace website into multiple languages
Need your site translated? Weglot works seamlessly to translate your Squarespace site and is free if your site has less than 2000 words.
Disclosure: Weglot contacted me in December 2019 and asked if I would write a training guide about their product. I was able to test it for free but all opinions given are my own.
Weglot works with a number of content management systems (Squarespace, Wordpress, Shopify and Wix to name a few) and is easy to integrate. As a Squarespace Authorized Trainer I wanted to see how Weglot worked with Squarespace and was excited to hear that Squarespace themselves use Weglot to translate their sites.
Here is a quick overview of how it looks on a Squarespace website: https://www.creativeblackwomansplaybook.com/. You can switch between English and Spanish here with the language switcher button.
To start your free trial of Weglot, click here.
Pricing
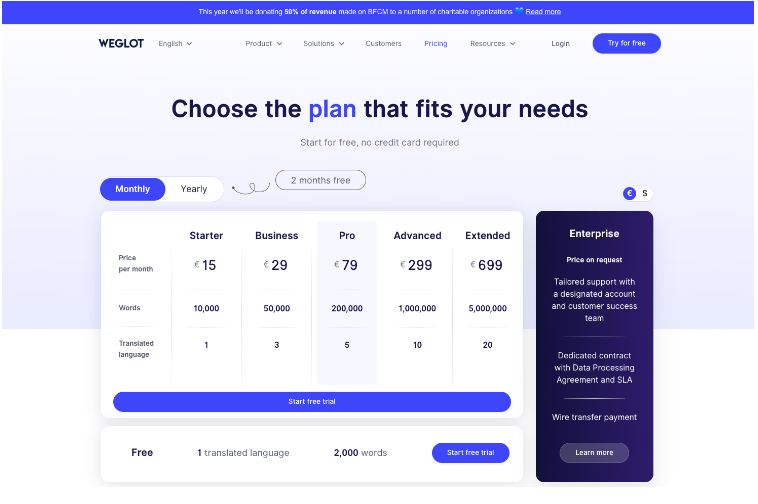
The pricing of Weglot depends on a number of factors such as how many words, languages and sites you have. Below is the pricing table from their website.
How to get started?
The Weglot team made a short video that I found really useful but you can find a recap below.
1) Connect the Weglot extension
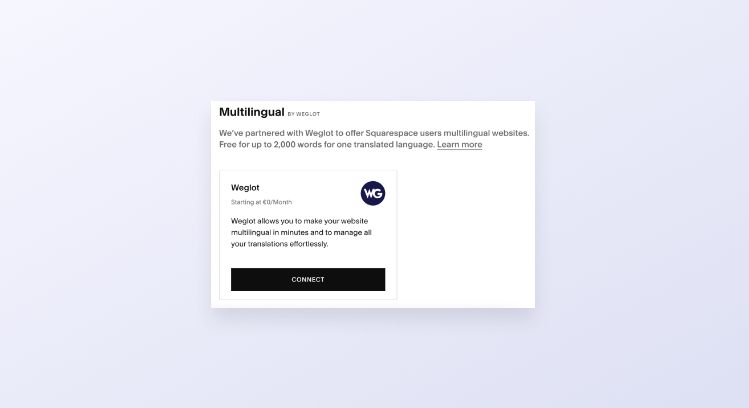
Through your Squarespace dashboard navigate to ‘Settings’ > ‘Language & Region’. Here you’ll see Weglot, click on ‘Connect’.
A popup will appear asking you to give Weglot access to your Squarespace site. Click on ‘Allow’.
2) Create a Weglot account
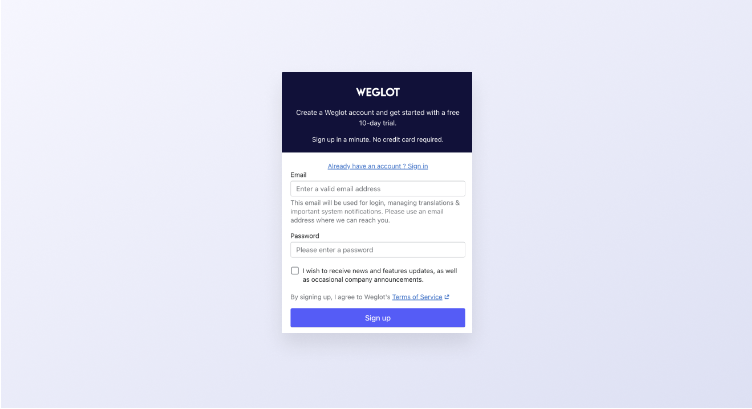
You’ll then be asked to create a Weglot account and this is where you’ll manage your website translation project such as editing translations and making translation rules.
3) Choose languages
After you’ve created an account, you’ll be asked to give your project a name and then select the original language of your website and the languages you want to translate it into.
4) Your Squarespace site is now multilingual!
Visit your live website and you’ll see it’s now fully translated. You can choose to edit your translations through the Weglot Dashboard and edit the appearance of your language switcher through the Squarespace website builder.
For long term translations you should provide Weglot with your URL as this will ensure both versions of your site are optimized for SEO.
5) Create language subdomains
To set up language-specific subdomains (e.g. a French website would be https://fr.mywebsite/ French), click on ‘Setup subdomains’ under the ‘Multilingual SEO’ section in your Squarespace dashboard.
Follow the instructions on the screen. Here you’ll see your DNS entries.
These need to be added to the domain section within your Squarespace dashboard > ‘Settings’ > ‘Domains’.
Note: If you purchased your domain name outside of Squarespace you will need to go to your domain name provider account and add your entries there (If you need help with this step you can contact Weglot’s support team at support@weglot.com)
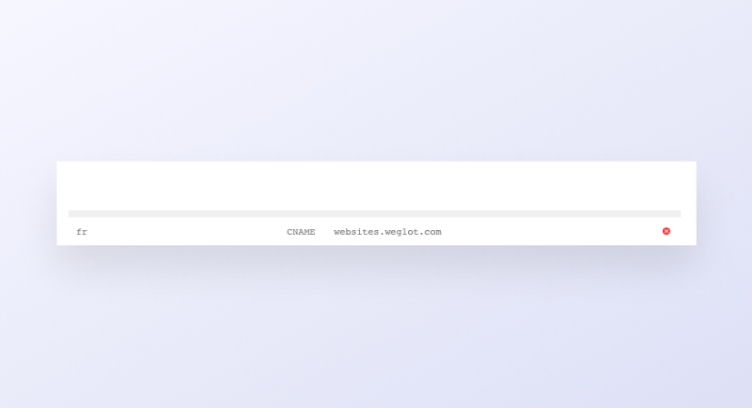
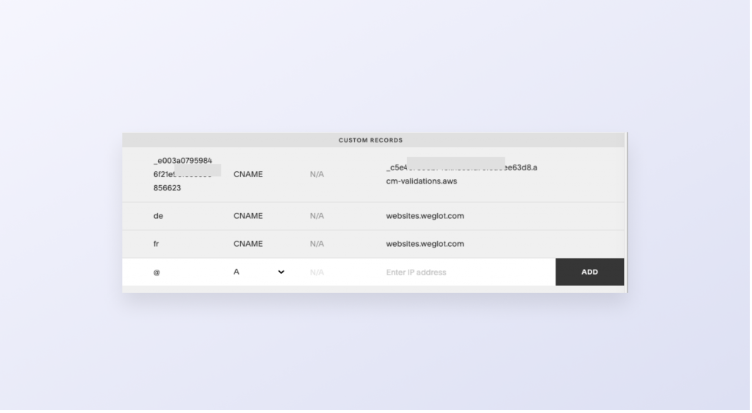
Your domain name will appear under ‘Managed by Squarespace’. Click on it, and then ‘DNS settings’. Add another entry by selecting the drop-down where the ‘A’ appears and choosing CNAME.
Then copy your DNS records from your Weglot Dashboard. Paste the language code in the first column and ‘websites.weglot.com’ in the IP address section, then click ‘ADD’.
Now go back to your Weglot account, click “Check DNS” and after a few minutes you should see a green tick icon; which means your language subdomains are live.
Your translations will be live in just a few minutes! You'll notice at the bottom right of your site there is a button which says your default language, when clicked on you will see the available translated languages that you have chosen.
My Review
Weglot was so much simpler than I expected it to be! The translation was live in under a minute and works seamlessly every time. I love the fact you can get professional translations from within your dashboard and see important data such as how many words have been translated in your site.


